29 Mar 5 Common Laptop Screen Troubleshooting Tips You Need To Know
Is your laptop screen flickering, distorted, or simply refusing to display an image? Don’t panic! Many common laptop screen problems can be resolved with a little troubleshooting. This guide on laptop screen troubleshooting will equip you with five effective tips to diagnose and fix these issues, potentially saving you a trip to the repair shop. From simple adjustments to using built-in tools, we’ll cover solutions suitable for a variety of technical skill levels. So, whether you’re a seasoned techie or a casual user, let’s get your laptop screen back in top shape!
Tip #1: Check for Loose Connections
A surprisingly common culprit behind laptop screen woes can be a loose connection. This is more likely to occur in older laptops or those that have been jostled around a bit. A loose connection between the display panel and the motherboard can cause a variety of issues, including:
- Flickering screen: This is the most common symptom of a loose connection. The screen may flicker on and off entirely, or you might see random flashes or distortions.
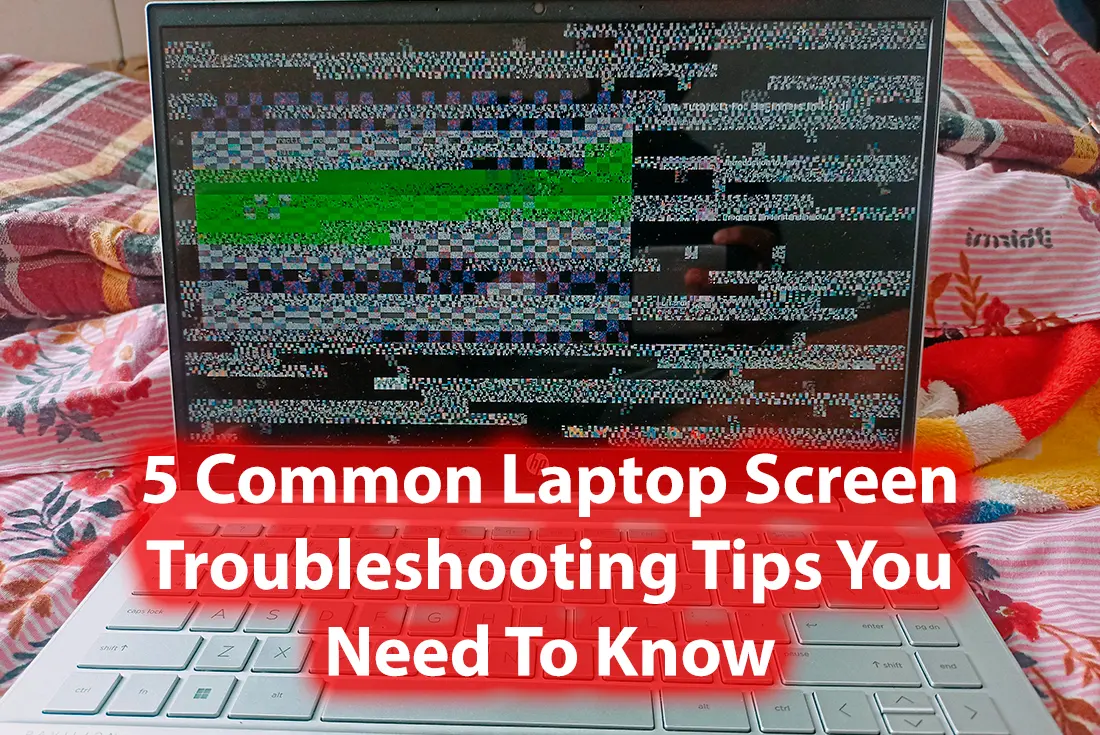
- Distorted or garbled image: A loose connection can also cause the image on your screen to appear distorted or garbled, with lines or artifacts appearing across the display.
- Loss of signal: In severe cases, a very loose connection may even cause the screen to go completely dark.
Before you dive into taking apart your laptop, there’s a simple test you can try:
- Turn off your laptop completely. This is important to avoid any risk of electrical shock.
- Gently adjust the laptop screen by tilting it back and forth. Do not apply excessive force. Observe the screen closely as you do this.
- If the flickering or distortion worsens in certain positions, it’s a strong possibility you have a loose connection.
If you suspect a loose connection, here’s what you can do:
Important Note: The following steps may involve opening your laptop chassis. If you’re not comfortable doing this yourself, consult a professional technician. Opening your laptop might void your warranty, so be sure to check your device’s warranty information before proceeding.
- Power down your laptop and unplug it from any power source.
- Carefully consult your laptop’s user manual or search online for specific disassembly instructions for your model. Different laptops have varying methods for accessing the internal components.
- Once you’ve gained access to the display panel’s connection point, locate the cable that connects the panel to the motherboard. It will likely be secured by a latch or a small screw.
- Gently but firmly reseat the connection. This might involve pushing the cable back into its socket or tightening the securing screw.
- Reassemble your laptop following the disassembly instructions in reverse order.
- Power on your laptop and test the screen. Hopefully, the flickering or distortion should be resolved.
If reseating the connection doesn’t solve the problem, the cable itself might be damaged and require professional replacement.
Downtown Computer Services is a highly skilled and certified team of specialists. We hold A+ certifications and computer science degrees, equipping them with the knowledge and skills to handle various computer glitches. So, is your laptop in trouble? Call us now, and we’ll fix it! Dial: (954) 524 9002.
Tip #2: Adjust Screen Brightness
Let’s continue discussing laptop screen troubleshooting! While maximizing battery life is a major concern for laptop users, screen brightness is about more than just extending those precious runtime minutes. The brightness level you choose can significantly impact your viewing experience and even eye health. Here’s why adjusting your screen brightness is an important troubleshooting tip:
- Improved Visibility: An overly bright screen can cause glare, making it difficult to see details, especially in brightly lit environments. Conversely, a screen that’s too dim can strain your eyes, leading to fatigue and headaches.
- Reduced Eye Strain: Extended exposure to bright screens can contribute to eye strain and fatigue. Dimming the screen, especially at night, can help reduce these issues and promote better eye health.
- Extended Battery Life: Yes, adjusting screen brightness is a well-known way to conserve battery power. A lower brightness setting requires less power from your laptop’s battery, allowing you to work or play for longer stretches.
Adjusting your screen brightness is a quick and easy process. There are two main ways to adjust your laptop’s screen brightness:
- Function Key Shortcuts: Look for dedicated brightness keys on your keyboard. These are usually function keys (labeled with “Fn”) paired with symbols like a sun or arrows. One key will increase brightness, and the other will decrease it.
- Operating System Settings: You can also adjust brightness through your laptop’s operating system settings. The exact steps will vary depending on your OS, but it’s typically found within the Power Options or Display settings menu.
By finding the optimal brightness level for your environment and needs, you can improve your viewing experience, reduce eye strain, and even extend your battery life – all with a few simple adjustments.
Tip #3: Update Your Display Drivers
Just like any other piece of software on your computer, your display drivers require occasional updates to function properly. These updates can fix bugs, improve performance, and even add new features for your laptop screen. Outdated drivers can lead to a variety of display problems, including:
- Resolution Issues: You might be unable to adjust your screen resolution to its full potential, or the image might appear stretched or distorted.
- Flickering or Screen Tearing: Outdated drivers can cause the screen image to flicker or tear, particularly during animations or video playback.
- Color Inaccuracy: Your screen’s colors might appear dull or inaccurate, making it difficult to enjoy photos and videos.
- Compatibility Issues: Outdated drivers might not be compatible with newer software or games, leading to display glitches or crashes.
Keeping your display drivers up to date is an essential part of maintaining a smooth and functional laptop experience.
There are two main methods for updating display drivers in Windows:
1. Using Device Manager:
- Press the Windows key + R to open the Run dialog box.
- Type devmgmt.msc and press Enter to launch Device Manager.
- Expand the Display adapters section.
- Right-click on your graphics card and select Update driver.
- Choose Search automatically for updated driver software. Windows will search online for and install any available updates.
2. Downloading Directly from the Manufacturer:
- Identify the model of your graphics card. This information can usually be found in your laptop’s documentation or by using a system information tool.
- Visit the website of your graphics card manufacturer (e.g., NVIDIA, AMD, Intel).
- Navigate to the driver download section and search for your specific graphics card model.
- Download the latest driver compatible with your Windows version and install it according to the manufacturer’s instructions.
By keeping your display drivers updated, you can ensure your laptop screen functions optimally and avoid a range of potential issues.
Tip #4: Run Built-in Troubleshooting Tools
Before diving into more complex solutions, it’s always a good idea to leverage the resources available within your operating system. Windows offers built-in laptop screen troubleshooting tools that can diagnose and potentially fix a variety of display issues. These tools can help identify problems with:
- Display adapter settings: The troubleshooter can check if your display adapter settings are configured correctly for your screen resolution and color depth.
- Driver issues: The tool might detect outdated or corrupt display drivers that could be causing problems.
- Hardware malfunctions: While less common, the troubleshooter may identify underlying hardware issues with your laptop’s display panel or graphics card.
Here’s how to use the built-in display troubleshooter in Windows:
- Press the Windows key + X to open the power user menu.
- Select Settings.
- Navigate to Update & Security.
- Click on Troubleshoot in the left-hand pane.
- Under Find and fix other problems, select Display.
- Click Run the troubleshooter.
The troubleshooter will scan your system for display-related problems and attempt to fix them automatically. If it identifies any issues, it will provide you with recommended solutions or steps to follow.
Even if the troubleshooter doesn’t resolve the problem completely, it can provide valuable insights:
- Error messages: The troubleshooter might display specific error codes that can help you pinpoint the source of the issue.
- Suggested fixes: The tool might offer recommendations for further troubleshooting steps or settings adjustments.
By running the built-in display troubleshooter, you can gain valuable information about the cause of your screen problems and potentially get them resolved without needing advanced technical knowledge.
Tip #5: Consider Replacing the Screen
If you’ve tried the troubleshooting tips above and your laptop screen is still malfunctioning, it might be time to consider a screen replacement. Here are some signs that a new screen might be necessary:
- Physical Damage: A cracked screen is the most obvious indicator. Cracks not only compromise the display quality but can also pose a safety risk if the backlight panel is damaged.
- Dead Pixels: These appear as permanently lit or unlit spots on your screen. A single dead pixel might be tolerable, but a cluster of them can significantly disrupt your viewing experience.
- Vertical or Horizontal Lines: Lines of distorted colors or flickering lines running vertically or horizontally across the screen are often signs of hardware failure within the display panel itself.
- No Backlight: If your screen remains completely dark even after turning on the laptop, the backlight – the component that illuminates the display – might have malfunctioned.
Replacing a laptop screen can be a complex task, and the difficulty level varies depending on the model. Here’s a general overview of the steps involved:
- Research Compatibility: It’s crucial to find a replacement screen that’s specifically compatible with your laptop model. Manufacturer websites, parts suppliers, or online repair forums can be helpful resources for finding the correct screen.
- Gather Tools: You’ll likely need a set of small screwdrivers, prying tools, and possibly replacement adhesive strips to secure the new screen.
- Backup Your Data: Before attempting any disassembly, always back up your important data to an external drive.
- Consult a Repair Guide: Search online for your laptop model’s specific disassembly and replacement instructions. Many video tutorials and repair guides are available that can walk you through the process step-by-step.
Important Note: Replacing a laptop screen can be delicate and requires careful handling. If you’re not comfortable performing the replacement yourself, it’s highly recommended to seek professional help from a qualified technician. They will have the expertise and tools to replace the screen efficiently and minimize the risk of further damage.
Remember, a screen replacement can be a cost-effective way to breathe new life into your laptop, especially if the rest of the device is functioning well. However, weigh the replacement screen’s cost and the complexity of the repair process against the overall value of your laptop before deciding.
Conclusion
By following these five troubleshooting tips, you’ve increased your chances of resolving common laptop screen problems without needing extensive technical expertise. If the issue persists or involves hardware replacement, consulting a qualified technician is always wise. Downtown Computer Services is the best computer maintenance and repair place in Fort Lauderdale. We’ve been serving the community for almost 30 years, repairing both Macs and PCs, laptops, and desktops. Our experienced IT specialists are at your service: diagnostics, repair, software setup, security issues, hardware sales, and more. Is your computer in trouble? Dial (954) 524 9002 and let Downtown Computer Services take care of it.